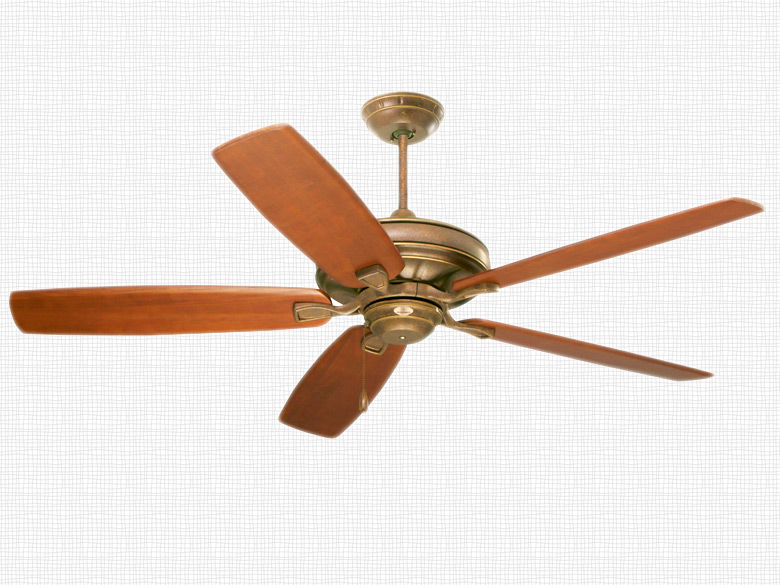
How many of you have either wished or tried unsuccessfully to convert an existing ceiling light into a ceiling fan? For those of you who have tried, your ceiling fan biggest hurdle was most likely how to support the weight of a ceiling fan.
Installing a Ceiling Fan:
 When installing a ceiling fan, first shut off the power to the light fixture and remove the shade and light bulb.
- Next, locate the 2 screws that are securing the light fixture to the electrical box.
- Loosen these screws by several turns. It’s not normally necessary to remove these screws. Once loose, turn the fixture until the screw heads line-up with the holes. The fixture should then hang down exposing the wires.
- Unscrew the wire nuts to finish removing the light fixture.
- Now take a close look at the electrical box. If you are fortunate enough that your electrical box is secured to a rafter or some other solid support, then you can skip the rest of this article and go install your ceiling fan according to the manufacturer’s instructions.
- However, if your mobile home is like most and you find that the only thing supporting your electrical box is your ceiling panel or sheetrock, then read-on.
You know that if you try hanging a ceiling fan from an unsupported electrical box, soon your fan will be kissing the floor. The best way to support a ceiling fan is to nail a 2x board between two rafters and attach your electrical box to that board. But, as you guessed, about the only way to do that is to tear apart your ceiling, and you don’t want to do that. We do have another solution.
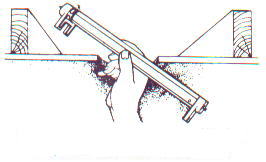
We have available a special bar which can be easily installed between the rafters to support a ceiling fan.
To Install the Ceiling Fan Support Bar:
 First, remove the electrical box.
- Next, insert the bar up into the hole in the ceiling left by the electrical box.
- Center the bar over the hole and between the rafters.
- Turn the bar and it will begin to expand and soon tighten itself between the rafters. On the end of the bar are some big spikes that will dig into the rafters.O
- Once you’ve hand-tightened the bar, give it a turn or two with a wrench. DO NOT OVER TIGHTEN or you may spread your rafters causing damage to your ceiling or roof.
- Along with the bar will be a u-bolt. Install this u-bolt over the bar, then run the electrical wire back through the electrical box, fasten the electrical box to the u-bolt and hang your ceiling fan according to the manufacturer’s instructions.
You can order the ceiling fan support bar in our store by clicking here.